How to Fix QuickBooks Error 103 When Signing into a Bank?
Connecting your bank with QuickBooks Online syncs the transactions and makes it convenient to reconcile. However, you may fail to log in to your bank, usually due to an incorrect username or password for the bank account you’re trying to connect to, causing QuickBooks error 103 on your screen.
Common browser issues may also cause issues, due to which you may need to opt for manual uploading of your transactions. In this detailed blog, we will cover possible factors and what you should do to address the issue. Let’s get started…
What Causes the Banking Error 103 in QuickBooks?
Let us explore various reasons why you fail to login to your financial institution and getting QuickBooks error 103:
- You might have entered incorrect login details when connecting to your bank, causing QuickBooks banking errors 2000 or 103.
- Selecting the wrong financial institution can also trigger QuickBooks error code 103.
- If you’re using QuickBooks Online and have updated your bank credentials, you must update them in QuickBooks Online too.
- Another possible cause is your browser lacking cookies.
- Your bank is undergoing system maintenance or updates, this could lead to issues.
- Third-party access might be disabled on your bank account.
Read More- QuickBooks Event ID 4 Error
Let’s Troubleshoot QuickBooks Error 103 in QuickBooks Online
Typically, you face the QuickBooks Bank Connection Error 103 in QuickBooks Online and Self-Employed versions. Here’s how to resolve the error for both existing and new connections:
1. Eliminate QuickBooks Bank Account Error 103 in QB Online
Step 1: Verify Your Login Credentials
- Ensure your bank account user ID and password are correct.
- Open a new browser window and navigate directly to your bank’s website.
- Log in using your credentials. If your password auto-fills, click the show password icon to view it.
- Successful login confirms your user ID and password are correct.
Note: If login fails, follow your bank’s process to reset your password, as you’ll need it for Step 3.
Step 2: Confirm Third-Party Access Requirements
Some banks require permission to link your account to external services like QuickBooks Online for security.
- While on your bank’s website, check if third-party access is needed.
- If required, follow your bank’s steps to enable it.
If unsure or needing assistance, contact your bank for guidance.
Step 3: Enter your bank sign-in info in QuickBooks
Try to signing to your bank again using the credentials in different editions of QuickBooks by following the below steps:
For a new connection
Don’t forget to link QuickBooks to your bank account. Choose the same bank that you previously logged into. The names of some banks are extremely similar.
For QuickBooks Online
To update your bank sign-in details, follow these steps:
- Click this link to follow the steps directly in QuickBooks. Open the link in a new tab.
- Choose the bank or credit card account you want to update.
- Click the Edit pencil icon, then select Edit account sign-in. This will open your bank’s website in a new browser window.
Note: If your browser auto-fills the username or password, clear those fields to avoid using outdated information.
- Enter the correct username and password from your records.
- Click Update to save the changes.
For QuickBooks Solopreneur
To update your bank connection details, do the following:
- Navigate to Transactions.
- Click the New transaction ▼ drop-down and select Manage connections.
- For the bank account you need to update, click the Vertical ellipses icon and choose Edit sign-in info.
- If your browser auto-fills the user ID or password fields, clear them to prevent entering incorrect details.
- Manually enter the user ID and password for your bank account. If available, use the Show option to verify your password is correct.
- Click Update to confirm the changes.
2. Resolve QuickBooks Bank Connection Error 103 for Self-Employed
Let’s try to resolve QuickBooks error 103 manually by updating the sign in info for QuickBooks self-employed:
- Click the Reconnect button shown in the error message. Next, manually enter your username and password.
- Select Update Sign-in Info.
- Then, proceed with these steps to verify the bank connection:
- Locate the bank’s login page URL or the URL displayed after logging into your bank account.
- Search for the bank using the sign-in URL. Test different variations by removing parts of the URL, such as numbers, until you find a match.
These troubleshooting steps should help fix QuickBooks error 103. If the issue persists, try the additional solutions provided below.
Fix an Issue Where a Wrong Security Question Appears
Perform the below troubleshooting steps if you see an incorrect security question and failing to sign in to QuickBooks Online:
1. Add Intuit as a Trusted Site
Adding Intuit as a trusted site ensures your browser doesn’t block its content. Here’s how to do it for different browsers.
a. Add Intuit in Safari
- Open Safari, go to payroll.intuit.com, and press Enter.
- Click Bookmarks > Add Bookmark.
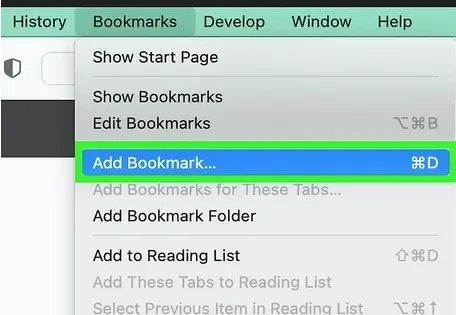
- From the drop-down, choose Top Sites under “Add this page to.”
- Click Add to save.
b. Add Intuit in Google Chrome
- Click the Customize and Control Google Chrome (⋮) icon, then select Settings.
- In the left menu, click Privacy and Security, then Site Settings.
- Under Cookies and Site Data, click Add in the Allow section.
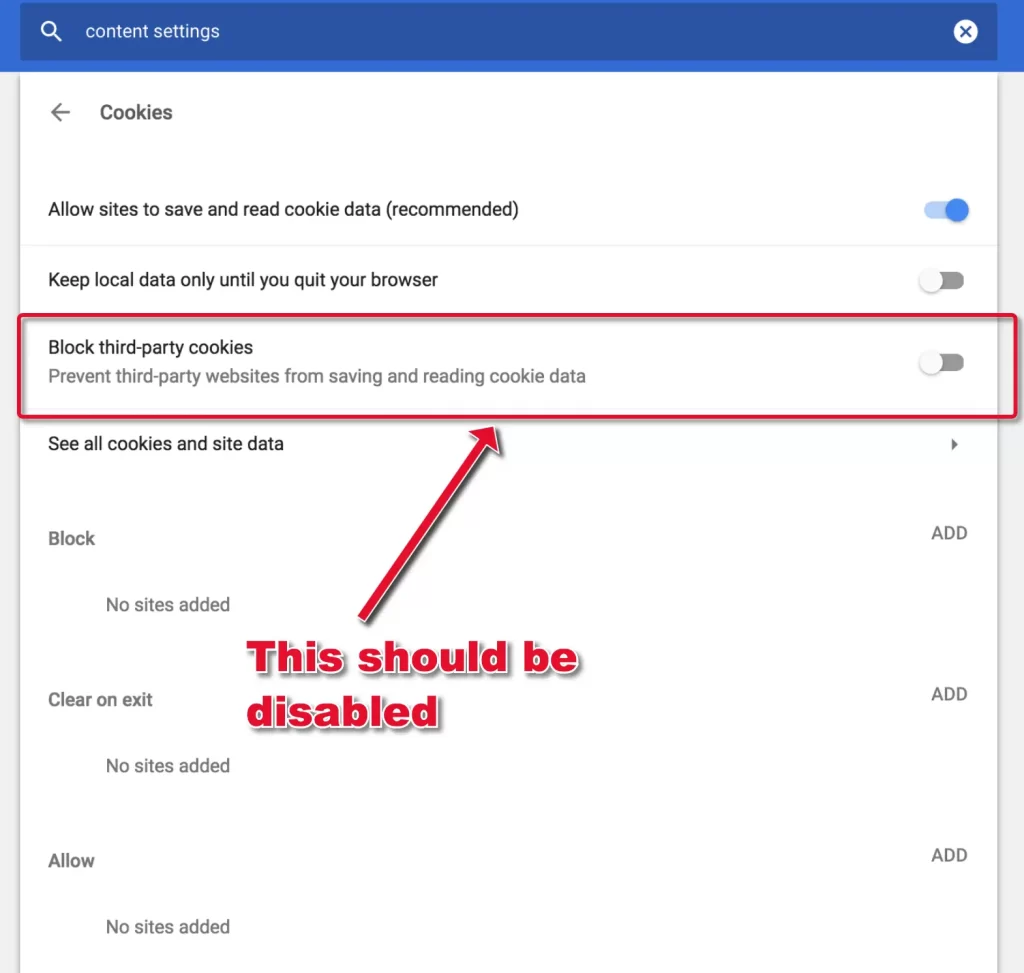
- Enter *intuit.com and click Add to save.
c. Add Intuit in Microsoft Edge
- Open Control Panel and go to Internet Options.
- Click Security > Trusted Sites > Sites.
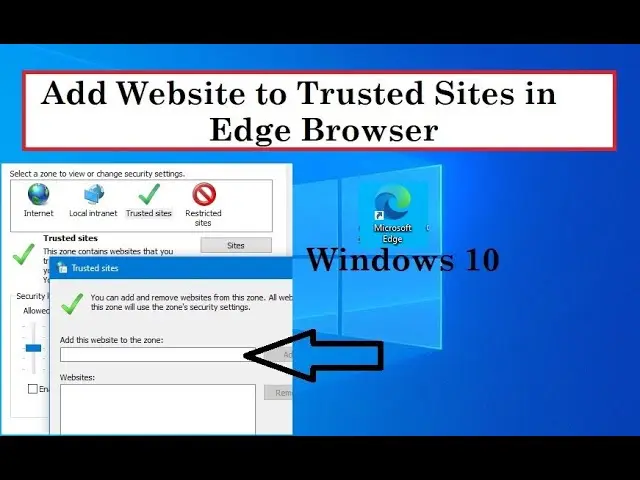
- Enter *intuit.com and click Add to save.
- Click Close, then OK to finish.
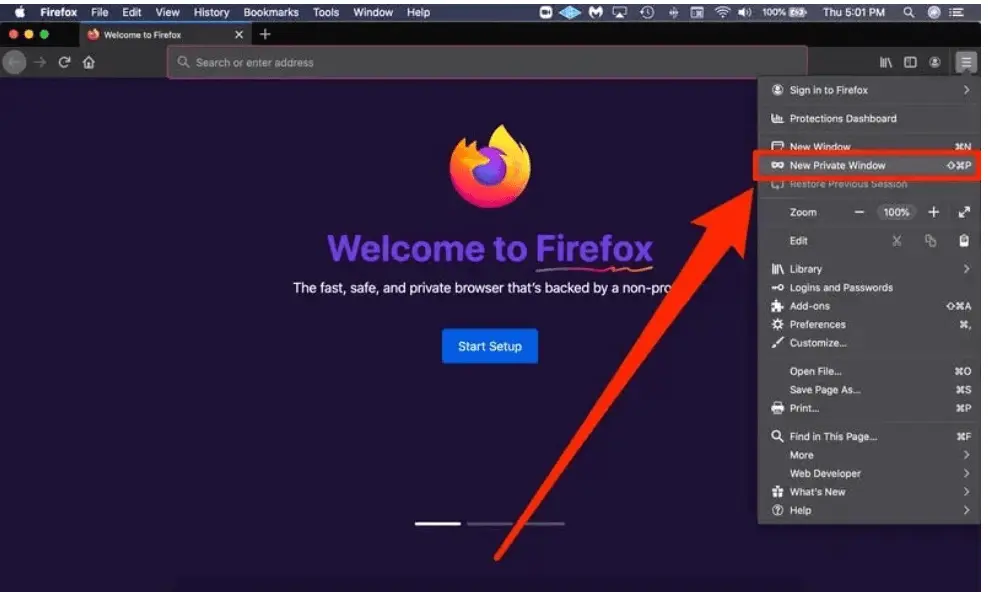
2. Access your bank’s website in an incognito window
When you open the bank in a private window, it bypasses the common browser issues such as stored cache, cookies, and browsing history. If a problem disappears when using a private window, it’s likely related to cached data or stored settings. Here’s how to do so:
a. Firefox
Windows: Shift + CTRL + P
Mac: Shift + ⌘ + P
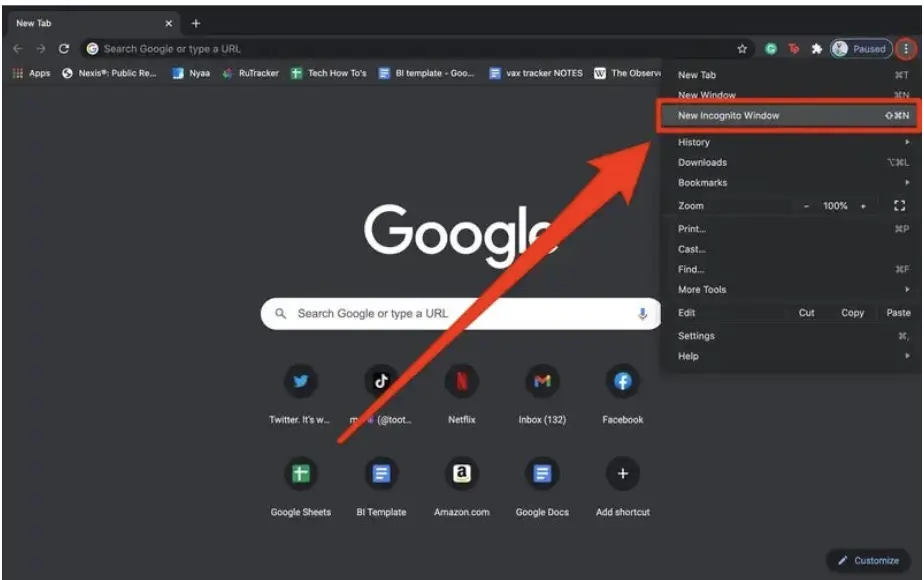
b. Google Chrome
Windows: Ctrl + Shift + N
Mac: Cmd + Shift + N
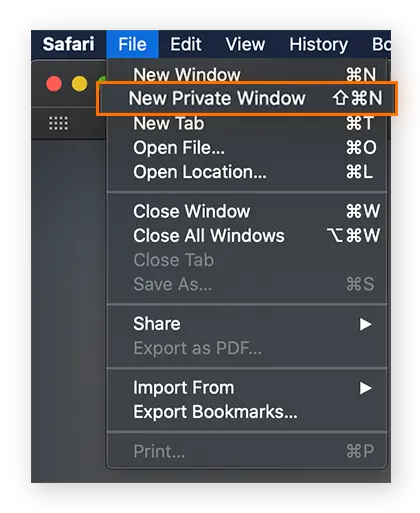
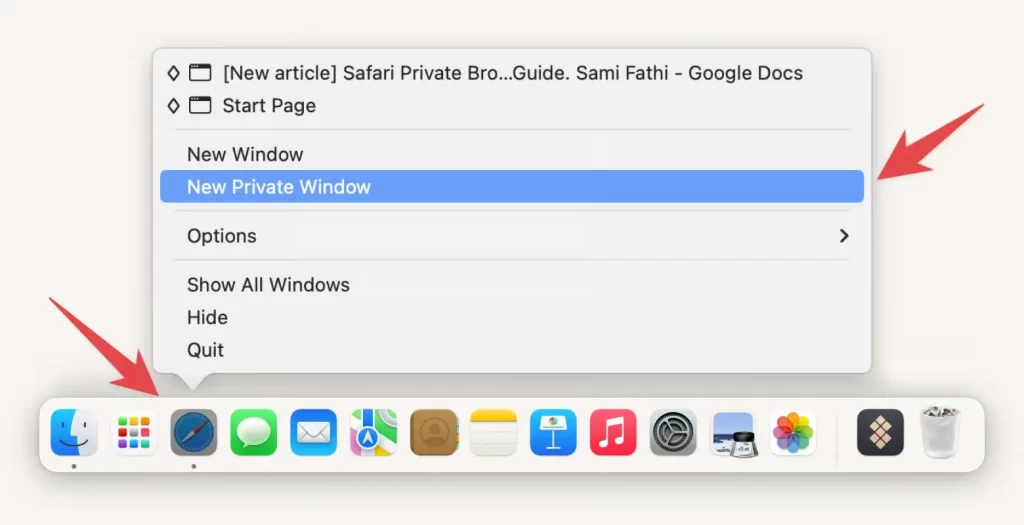
c. Safari for Mac
Open the private window: Command + Shift + N
d. Safari for iPad and iPhone
- Open your Safari app.
- Hit on Tabs button.
- Finally, select Private.
3. Clear browser’s cookies and caches
A Browser uses cookies and caches to store your information, such as the websites you visited, to enhance the user experience and load the website faster in your next visit. By the time this data expires, it can hinder your usual browser activities, such as issues when logging in to your bank account.
To resolve QuickBooks error 179, you must clear the browser’s cookies and caches and enjoy a faster and error-free experience during reconciliation and other processes.
Workaround: Manually upload your transactions
If nothing works, connect with QuickBooks professionals for a quick resolution, until then manually upload your transactions in QuickBooks Online.
It allows you to upload an image or a PDF statement. The software will extract and import the transactions for AI. This way, you do not need to get a different file type, making it convenient for you.
Note: Your bank statement should be in the form of a PDF or an image (.jpg, .png, or .heic).
- Go to Transactions in QB Online and select Bank transactions.
- From the Link accounts drop-down, select Upload from file.
- Click on Manually upload your transactions, then select the account for which you’re
- uploading transactions.
- Simply drag and drop or click on Browse to upload your bank statement.
- If you have uploaded an image or PDF, QuickBooks Online will automatically extract the bank transaction using AI-powered extraction.
Note: Once uploaded, you might receive a notification that QuickBooks is reviewing the statement. The team of QuickBooks globally will be reviewing everything to ensure it’s accurate. Once the extraction is done, you will see a notification banner on your bank transactions page.
- Now, a side view of the bank statement will appear, showing what exactly QuickBooks extracted from it. You can make changes to the field and/or item that is needed.
Tip: Review everything to ensure accuracy. - Finally, click Save.
These transactions will now appear in QuickBooks on the Bank Transactions tab for the selected bank or credit card account.
Conclusion
We know connecting your bank with QuickBooks Online can be challenging with QuickBooks error 103 on your screen. However, the information covered above can help you get past the error promptly in different editions of QB. With these solutions, you’ll be back to managing your finances smoothly in no time, minimizing downtime and boosting productivity.
If problems persist, don’t hesitate to contact your bank or QuickBooks support for assistance. Dial +1(866)409-5111 and talk to a QB ProAdvisor now!

